Have you ever experienced the frustration of turning on your PC only to find it won’t turn on? Press the power button, but you only get a motherboard light and nothing else.
This can be a very common issue that many PC users face at some point, leaving you feeling helpless and unsure of what to do next.
In this article, we will discuss the possible causes of this problem and walk you through some steps to troubleshoot and fix it.
So, let’s get started and get your PC up and running again in no time.
Possible Causes of Why PC Won’t Turn On But Motherboard Light Is On
There are a few potential reasons why your PC won’t turn on even though the motherboard light is on. One possibility is that there’s an issue with the power supply. This could be caused by a faulty connection or a malfunctioning power supply unit (PSU).
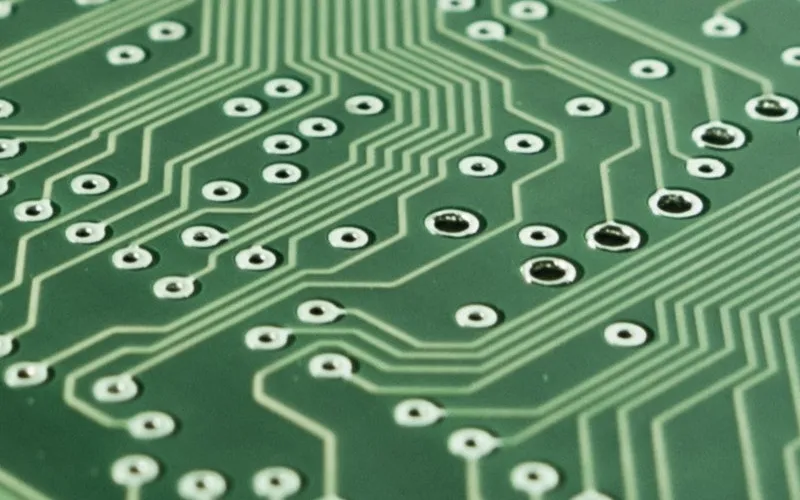
Another common culprit is faulty RAM, which can cause issues with the PC’s boot process. Additionally, there may be problems with the motherboard itself, such as damaged or malfunctioning components.
Overheating can also cause a PC to shut down and refuse to turn back on until it cools down.
Remember that several other hardware issues could also be at play here, so it’s important to do some troubleshooting to figure out what’s causing the problem.
How To Fix PC Won’t Turn On But Motherboard Light Is On
Step 1: Check power supply connections
The first step in troubleshooting this issue is to check the power supply connections. This includes the main power cable connecting the PSU to the motherboard and any auxiliary power cables your hardware components may require.
Ensure these cables are properly connected, and try turning on your PC again.
Step 2: Test the power supply unit
If the power supply connections are all secure, the next step is to test the PSU. You can use a multimeter to check the voltage output of each of the PSU’s power connectors.
Alternatively, you can use a power supply tester tool to determine if there are any issues with the PSU quickly. If your PSU is faulty, it may need to be replaced.
Step 3: Remove and re-install RAM
If the PSU isn’t the problem, the next step is to remove and re-install the RAM. Sometimes, a loose or faulty RAM stick can cause the PC to fail to start up. To do this, turn off your PC and unplug it from the wall.
Open up your PC case, locate the RAM sticks, and gently remove them from their slots. Then, re-insert them firmly into place. Close up the case and try turning on your PC again.
Step 4: Check for motherboard damage
If the RAM isn’t the issue, there may be damage to the motherboard itself. Inspect the motherboard for any signs of physical damage, such as cracks or burn marks.
If you notice any damage, you may need to replace the motherboard.
Step 5: Clean the PC and check for overheating
Another possible cause of this issue is overheating. Ensure your computer is clean and free of dust, pet hair, or debris that may be blocking airflow and causing the PC to overheat.
You can use canned air or a vacuum cleaner to remove buildup from the fans and heatsinks gently. Also, check to ensure that all the fans are functioning properly and that they’re drawing air through the PC effectively.
Step 6: Other troubleshooting methods
If none of these steps have resolved the issue, you can try a few other troubleshooting methods. For example, you can try resetting the BIOS on your motherboard by removing the CMOS battery and putting it back in again.
You can also try booting up your PC with only essential hardware components connected, such as the motherboard, CPU, and RAM. This can help you narrow down which component may be causing the issue.
Preventative Measures
Now that you’ve successfully fixed the issue with your PC, it’s important to take preventative measures to avoid similar problems.
Here are a few tips to keep in mind:
- Keep your PC clean: Regularly dust off your computer and clean out the fans and heatsinks to prevent overheating. This can also help extend the life of your hardware components.
- Use a surge protector: Protect your hardware from power surges by using a surge protector. This can help prevent damage to your power supply and other components.
- Monitor your temperatures: Monitor your PC’s temperature to ensure it doesn’t overheat. You can use free software like HWMonitor to monitor your computer’s temperature and ensure everything runs smoothly.
- Update your drivers: Ensure all hardware drivers are up-to-date for maximum compatibility and performance.
- Don’t overload your PSU: Be mindful of the hardware components you install on your PC, and make sure that your power supply provides enough wattage to support them.
Following these preventative measures can reduce the risk of encountering similar issues with your PC.
Remember, maintaining your hardware components and keeping your PC clean and well-maintained is key to enjoying reliable and long-lasting performance.
Conclusion
If you’re experiencing the frustrating issue of your PC not turning on but the motherboard light being on, there are several potential causes and troubleshooting steps you can take to fix the problem.
You can identify and resolve the issue by checking power supply connections, testing the PSU, removing and re-installing RAM, inspecting for motherboard damage, cleaning your PC, and trying other troubleshooting methods.
Additionally, by taking preventative measures like keeping your PC clean, using a surge protector, monitoring your temperatures, updating your drivers, and not overloading your PSU, you can reduce the risk of encountering similar problems.
With some patience and some troubleshooting, you can get your PC up and running again.

