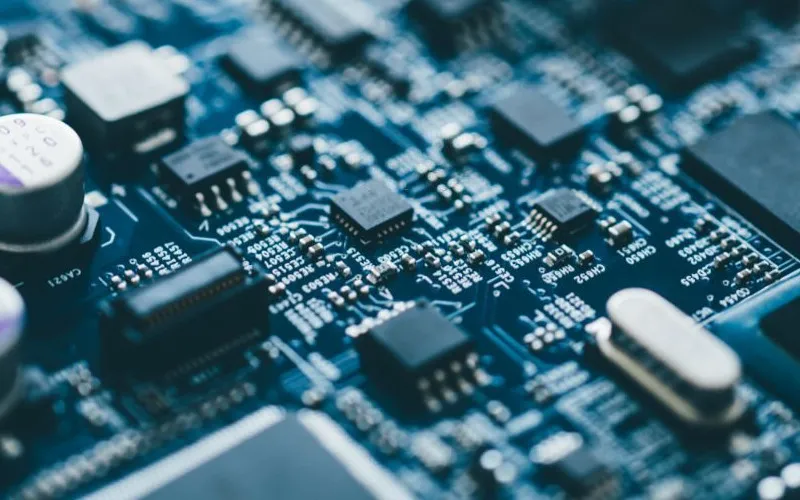
The yellow light on a motherboard can indicate several things depending on the make and model of the motherboard. It can indicate a power-related issue, a hardware problem, or even a simple cosmetic feature.
Whatever the reason, it is important to understand how to fix the yellow light on a motherboard to ensure your computer runs smoothly.
In this article, we will provide you with a step-by-step guide on how to fix the yellow light on a motherboard.
What Does the Yellow Light on Motherboard Mean
The yellow light on a motherboard indicates something may be wrong with your computer. It can indicate several things depending on the make and model of the motherboard. In some cases, it could simply be a cosmetic feature, but in other cases, it could indicate a serious problem that needs to be addressed.
A power-related issue is one potential cause of a yellow light on a motherboard. This could mean an issue with the power connection or supply itself. Another potential cause could be a hardware problem.
For example, the RAM or CPU may not be properly connected. Overheating could also be a culprit, causing the motherboard to send out a warning signal in the form of a yellow light.
If you notice a yellow light on your motherboard, it’s important not to panic. The first step is to try and identify the cause of the issue. Check all the power connections and make sure that everything is properly secured.
You can also try removing and reseating the RAM and CPU to see if that resolves the issue. If the issue persists, it’s best to consult a professional who can diagnose the problem and offer a solution.
Related: How To Fix PC Won’t Turn On But Motherboard Light Is On
How to Fix Yellow Light on Motherboard
1. Check the Power Connection
The first step in fixing a yellow light on a motherboard is to check the power connection. This is because most motherboards require a steady power supply to operate properly.
Ensure that all the connections are properly secured, including the ATX power connector, usually a 24-pin connector near the CPU socket.
If the connections are loose or not properly secured, disconnect the power supply from the wall outlet and reattach the connectors.
2. Check the RAM
If the power connections are secure and the yellow light persists, the next step is to check the RAM. The RAM (Random Access Memory) is a crucial component of every computer as it stores short-term data used by the processor.
If the RAM is not properly connected, it can cause problems such as a yellow light on the motherboard. To check if the RAM is causing the problem, try removing the RAM modules and then reseating them in their respective slots.
Make sure they are fully inserted and locked into place.
3. Test the Power Supply
If the RAM is not causing the problem, the next step is to test the power supply. A faulty power supply can cause a yellow light on the motherboard, as it may not supply enough power to the system.
You can use a multimeter to measure the voltage outputs to test the power supply. Alternatively, you can replace the power supply with a known good one to see if that resolves the issue.
4. Check for Overheating
Another potential cause of the yellow light on the motherboard is overheating. Overheating can cause damage to the motherboard and other components, so it is crucial to identify and address the issue as soon as possible.
Using temperature monitoring software, check if the CPU and GPU temperatures are within safe limits. If they are not, ensure that the fans are spinning correctly and that the heatsinks are properly seated.
5. Update the BIOS
If none of the above steps works, the next step is to update the BIOS. The BIOS (Basic Input/Output System) is firmware that controls the basic functions of the computer.
An outdated or corrupted BIOS can cause issues, including a yellow light on the motherboard.
Check the motherboard manufacturer’s website for the latest version of the BIOS and follow the instructions to update it.
Frequently Asked Questions
What Is The Yellow Light On My Asus TUF Motherboard?
The yellow light indicates a problem with the RAM, possibly due to several issues. Incompatible RAM, incorrect RAM installation, or a faulty CPU or motherboard could cause it.
If you are experiencing this issue, the first step should be to check your RAM and ensure it is properly installed in the correct slots. If everything looks good there, you may need to try swapping out the RAM for another set. You can also try resetting your BIOS settings to see if that helps resolve the issue.
If none of these steps work, you may need to take your system to a repair shop for further diagnosis and repair. A professional technician will be able to determine what is causing the yellow DRAM light on your Asus TUF motherboard and help you get it fixed quickly and easily.
No matter the cause of your yellow DRAM light, it’s important to address it as soon as possible so you can get back up and running without any further issues.
Should CPU Light Be On Motherboard?
The red (or orange) LEDs on your motherboard indicate that something has gone wrong in initializing all of the hardware. This could be a loose connection, improper seatings, or serious hardware damage.
The red light near the CPU label indicates that something is wrong with the processor, and it’s one of the more common reasons you will see this warning light.
If you are seeing a solid red light on your motherboard, it is most often an indication that the board has failed to boot properly and needs to be checked for any errors.
To fix this issue, you can try changing the device’s CMOS battery, resetting the BIOS, checking RAM settings, replacing faulty components, or updating drivers.
How Do I Know If My Motherboard Is Dying?
It can be difficult to tell if your motherboard is dying, but there are some warning signs you should look out for. If your computer fails to boot, this could be a sign that your motherboard is faulty.
Other symptoms include random shutdowns, overheating, strange noises coming from the computer, burning smell from the motherboard, hardware not being recognized and blue screens of death.
To check if a motherboard is dead, you can perform a visual inspection to look for any physical damage or signs of overheating. You can also check that all components are snugly in place and look for obvious damage to the motherboard and its components.
Additionally, you should check circuits and resisters for bubbles or burns as these could indicate a problem with the motherboard.
Conclusion
A yellow light on the motherboard can indicate several issues ranging from power-related problems to hardware issues. It is important to identify the cause of the problem and address it as soon as possible to ensure the smooth operation of your computer.
I hope this guide has provided you with a step-by-step approach to fixing the yellow light on your motherboard.


