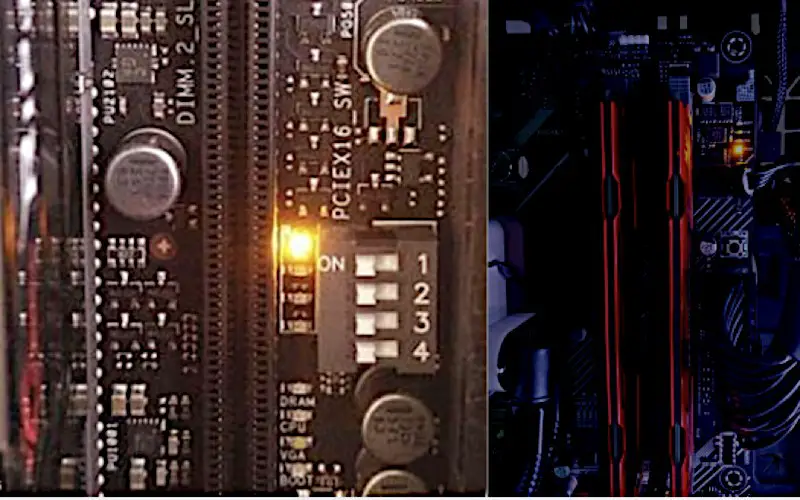
Sometimes, PC owners may find a strange light on their motherboards. This is usually the DRAM light, and it indicates that there’s an issue with the computer’s memory. The computer has trouble accessing its RAM if the DRAM light is on.
This can be caused by several things, including bad RAM, a faulty motherboard, or even a problem with the power supply.
In case you see the orange DRAM light on your motherboard, don’t panic. You need to follow simple troubleshooting steps to fix the problem. This article will provide an overview of what you need to do when encountering this problem and fix it for good.
What Do The Lights Mean On My Motherboard?
The lights on your motherboard are there to give you information about the status of your computer. They can help troubleshoot problems with your computer. Different computer manufacturers have different ways of labeling the lights on their motherboards. However, there are some common meanings for the colors of the lights.
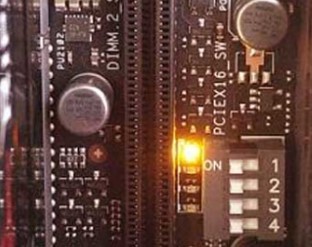
The colors of the motherboard lights can tell you what is wrong with your computer. For example, if the power light is red, no power goes to the motherboard. If the DRAM light is on, there is an issue with the computer’s memory.
The color of the light can also give you a clue as to what is wrong with your computer. For example, a red light indicates a hardware problem, while a green light indicates the computer is working properly.
Why DRAM Light On Motherboard?
When the DRAM light on your motherboard turns on, there is a problem with how your computer communicates with the DRAM (Dynamic Random Access Memory) module.
The following are some possible reasons why this might happen:
1. Incompatible RAM
When you first build your computer or upgrade your RAM, you might not have installed it correctly. If the modules are not seated properly in their slots, the computer cannot access them properly. Incompatible RAM can also cause this issue.
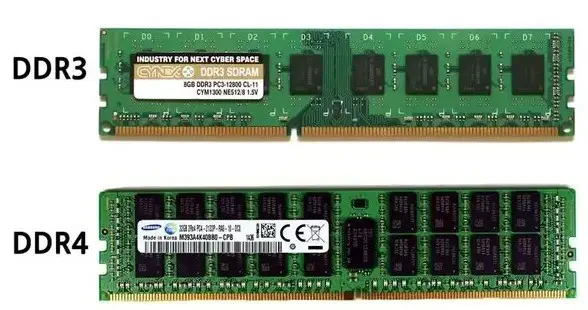
If you’re using DDR3 RAM in a DDR4 slot or vice versa, the computer will not be able to use the RAM properly.
2. Unstable RAM
You might have installed RAM that is not compatible with your motherboard or is poor quality. This can cause the DRAM light to turn on, as the computer cannot communicate properly with the RAM.
3. Mismatched Memory
You may have mismatched memory modules, which can cause some problems. If you’re using four modules, try using only two in different slots to see if that clears up your issue. If you’re using two modules, try using only one to see if that clears up your issue.
If you’re using one module, try removing it and see if that clears up your issue.
4. Misconfigured BIOS
Sometimes the BIOS can be configured in a way that doesn’t allow the DRAM to operate at its full potential. This can lead to a situation where the DRAM light is on, but the system is otherwise stable.
Although it’s not the most common cause, it’s worth checking your BIOS settings if you have this issue.
5. Wrong RAM Stick Placement
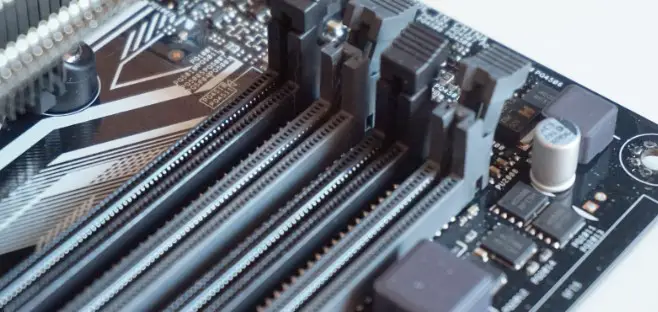
You can likely populate two different channels if you have a motherboard with four RAM slots. Be sure to put the matching RAM sticks in the same channel. For example, if you have two 4GB RAM sticks, put one in Channel A and the other in Channel B.
You may get lucky; the computer will boot with mismatched RAM but could have stability issues.
6. Low Power Supply
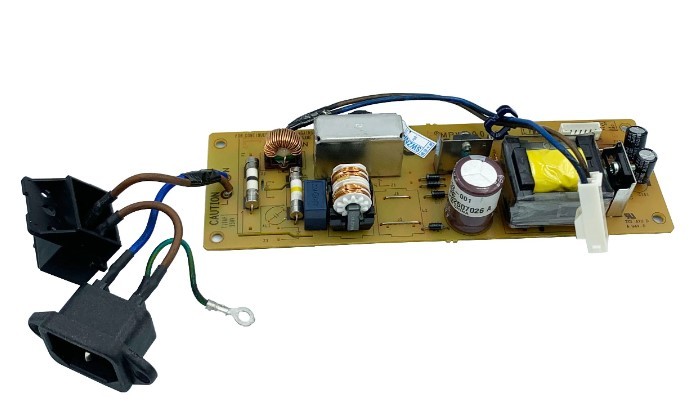
If the motherboard is not getting enough power, it can cause random issues. If you have a dedicated graphics card, it could be sucking up too much power and starving the motherboard.
Ensure your power supply has enough connectors to handle all the components in your system. If you’re not sure, get a higher-wattage power supply.
7. Damaged Parts
Damaged parts mean either the motherboard or the CPU is not working properly. The motherboard or CPU will likely not work properly if you have a four-year-old computer. If you have a new computer, the motherboard is likely not working correctly.
If you have a laptop, the motherboard is likely not working properly.
How To Fix DRAM Light On Motherboard?
A motherboard with a DRAM light indicates a computer’s memory problem. Various things, including loose cables, bad memory modules, or incorrect settings in the BIOS can cause this.
To fix a DRAM light on the motherboard, you need to follow these methods and fix the problem:
1. Locate Your Problem
You cannot fix your problem if you do not know what is causing it. To locate the source of your DRAM light, you must check a few things. You must remove everything from your motherboard and check if the DRAM light is still on.
If it is, then the problem lies in your motherboard. If not, reattach everything to your motherboard and check if the DRAM light is still on. If it is, then the problem lies in one of your devices. You need to check each device to find the source of your DRAM light.
2. Unmount And Remount The RAM Stick
The problem might be with your RAM stick. To fix this, you need to unplug the RAM stick from your motherboard and then plug it back in. You can clean the RAM stick’s contact points with a cotton swab dipped in rubbing alcohol to ensure no dust or dirt on the RAM stick.
Also, a blower can be used to clean the contact points.
When fixing the RAM stick, ensure it is firmly inserted into the slot and that the clips are locked.
When mounting the RAM, you should hear a ‘click’ sound, indicating that the RAM is properly in place. You must do this carefully not to damage the RAM stick or the motherboard.
Turn on your computer and check if the dram light is still on. If not, then congratulations, you have fixed your problem! If the dram light is still on, mount your RAM on a different slot and try again.
If the dram light is still on, then there might be a problem with your RAM stick, and you should consider buying a new one.
3. Reconfigure Your RAM
Your motherboard might have a button or a switch to change the RAM configuration. You must look for this in your motherboard’s manual and change the RAM configuration if required. If there is a button, you will need to press it for a few seconds.
If there is a switch, you will need to move it to the desired position. This will allow your RAM to adjust to the new configuration of the motherboard and fix the dram light problem.
4. Change GPU Slot
You can try to fix the DRAM light on your motherboard by changing the GPU slot. If you have more than one graphics card, try switching the cards to see if the issue persists. Additionally, you can try removing the graphics card and using onboard graphics.
You can use the PCIe slot to connect your monitor to the motherboard.
5. Change the PSU
Your motherboard may have issues with its power supply unit (PSU). If your motherboard has a DRAM light on, it could be caused by an inadequate or failing PSU. Try replacing your PSU to see if that fixes the problem.
It would help to use a PSU with at least the minimum wattage required for your motherboard and components.
6. Check Motherboard Settings
Some settings in the motherboard’s Basic Input/Output System (BIOS) can cause the DRAM light on your motherboard to stay lit. The BIOS is a set of instructions that tells your computer how to boot up and what hardware to use.
To check the settings of your BIOS, you need to restart your computer and press the appropriate key that takes you to the BIOS setup. This key is usually F2, F10, or Del.
When you get into the BIOS menu, look for the settings that control the DRAM. These settings are usually found in the “Advanced” or “Chipset” section of the BIOS. If unsure what the settings do, consult your motherboard’s manual or look for online documentation.
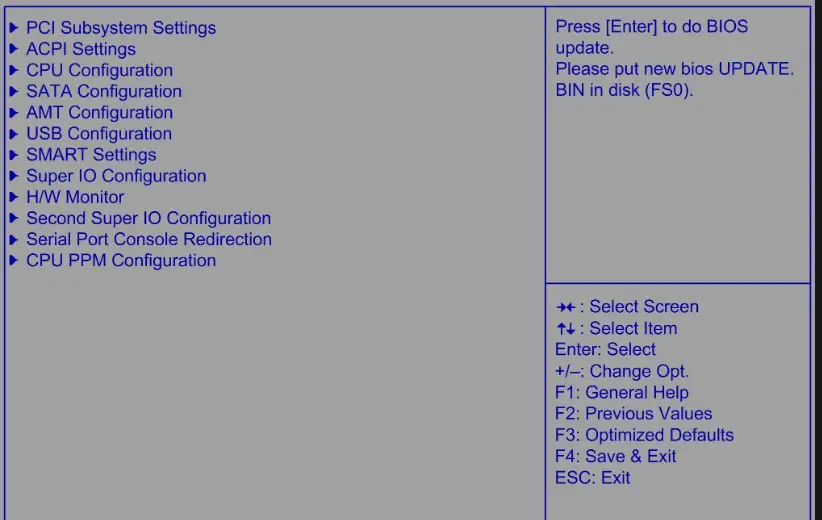
Once you’ve found the relevant settings, ensure they’re set to the correct values. If unsure of the correct values, consult your motherboard’s manual or look for online documentation. You may need to experiment with different values to find the best ones for your system.
7. Reset Your CMOS
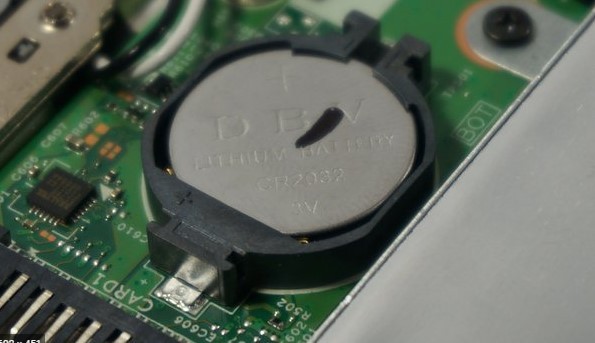
CMOS is a chip on your motherboard that stores your BIOS settings. When you reset the CMOS, you essentially reset your BIOS to its default settings. This can fix issues with your DRAM light and many other problems.
To reset your CMOS, locate the jumper on your motherboard and move it from the “Normal” to the “Clear” or “Reset” position. Once you’ve done this, restart your computer and check to see if the issue has been resolved.
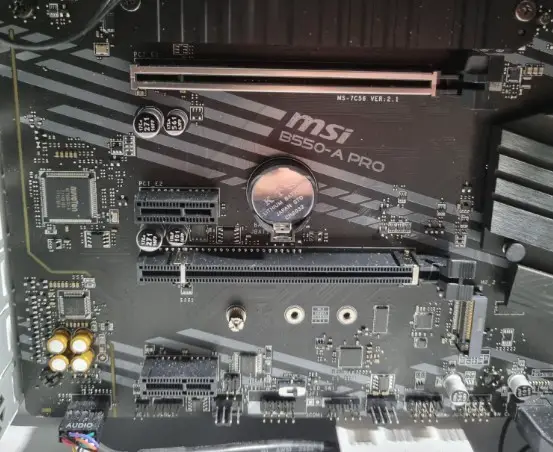
If you can’t locate the jumper, you can try testing it using the following steps:
- Unplug your computer from all power sources.
- Remove the battery from your motherboard.
- Press the power button for 30 seconds to discharge the capacitors.
- Locate the CMOS battery and remove it for 10-15 seconds.
- Put the battery back in and plug your computer back in.
- Turn on your computer.
If this doesn’t work, you can try resetting your BIOS to its default settings. To do this, enter your BIOS and navigate to the “Reset” or “Restore Factory Defaults” option. This will reset your BIOS to its default settings, which may fix the issue.
If you’re unsure how to enter your BIOS, consult your motherboard’s manual.
8. Update Your BIOS
If resetting your CMOS doesn’t fix the DRAM light on your motherboard, you may need to update your BIOS. This is usually a last resort, as it’s more complicated and time-consuming than the other methods on this list.
You’ll need to check your motherboard’s documentation to update your BIOS. The process varies depending on the manufacturer, so following the instructions carefully is important. Once you’ve updated your BIOS, restart your computer and see if the DRAM light is still on.
9. Change Your Processor
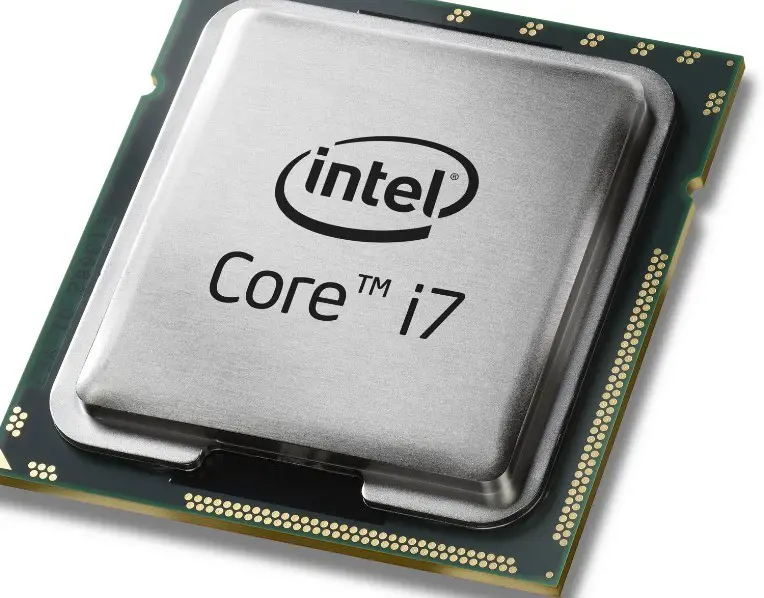
Processor problems can also cause your DRAM light to stay on. If you’re getting the DRAM light error after upgrading your processor, it is likely, that the processor is incompatible with your motherboard.
You’ll need to change your processor or find a different motherboard compatible with your processor. To upgrade the processor, you’ll need to remove the old processor and install the new one. The proc
10. Unplug All Cables
Faulty cables can also cause the DRAM LED light to stay on. If you have recently added or removed any cables from your motherboard, ensure they are all properly plugged in. Also, check to see if any of the cables are loose.
If you are unsure about any cables, you can try unplugging them all and then plugging them back in one at a time. This will help you determine which cable is causing the problem. Avoid moving the cables around too much, which can damage the connectors.
How Do I Fix The DRAM Light?
Sometimes, the DRAM light on your motherboard could indicate an issue with your computer’s memory. If you see this light, you need to check the following:
- Ensure all the cables are properly connected to the motherboard and the power supply is plugged in and turned on.
- Remove any expansion cards or peripherals that might be causing the problem.
- Check the BIOS settings to ensure that the memory is configured properly.
- If you’re using two or more memory sticks, try removing one and see if that solves the problem.
- If none of the above solutions works, you may need to replace the motherboard.
Which Are the Best Ways How To Clean CMOS?
There are two ways to clear your CMOS: via the BIOS menu or physically removing and replacing the CMOS battery. Your method will depend on your motherboard and the features it supports.
To clear your CMOS via the BIOS menu:
- Restart your computer and enter the BIOS. This is usually done by pressing a key during the boot process, such as F1, F2, F10, or Del. Consult your motherboard’s manual if you’re unsure which key to press.
- Use the arrow keys to navigate the Reset Configuration Data or Clear BIOS Settings option in the BIOS menu.
- Press Enter to select the option.
- Press Enter again to confirm that you want to clear your CMOS.
- Exit the BIOS and restart your computer.
To clear your CMOS by removing the battery:
- Locate the CMOS battery on your motherboard. This will look like a small coin-sized battery.
- Use a Phillips head screwdriver to remove the retaining screw(s) that hold the battery in place.
- Remove the battery from its socket and set it aside for at least five minutes.
- Replace the battery and screw(s) and restart your computer. Your CMOS settings should now be reset to their defaults.
How Do I Check My BIOS Version?
To check your BIOS version:
- Restart your computer and enter the BIOS. This is usually done by pressing a key during the boot process, such as F1, F2, F10, or Del. Consult your motherboard’s manual if you’re unsure which key to press.
- Use the arrow keys to navigate the System Information or BIOS Version option in the BIOS menu.
- Press Enter to view your BIOS version.
Your BIOS version will be displayed on the screen. You can check your manufacturer’s website for more information if you’re unsure what version you have.
Frequently Asked Questions
What Does It Mean If The DRAM Light Is On?
If the DRAM light is on, there is an issue with the computer’s memory. The computer has trouble accessing the memory, which can cause different problems. You may see error messages, experience crashes, or have other issues.
How Do I Fix The DRAM Light Issue?
You must replace the computer’s memory if the DRAM light is on. You can take the computer to a store specializing in computer repairs or order new memory online.
Can I Still Use My Computer If the DRAM Light Is On?
You can still use your computer if the DRAM light is on. However, you may experience some performance issues. The DRAM light indicates a computer’s memory (RAM) problem. If you continue to use the computer, you may experience data loss or corruption.
We recommend contacting a qualified technician to check your memory (RAM) and resolve the issue.
I Have A DRAM Light On My Motherboard. What Should I Do?
If you have a DRAM light on your motherboard, there is likely an issue with the DRAM itself. You should check the DIMM slots to see if they are properly seated and tightened. If they are, you may need to replace the DRAM.
You can also try resetting the BIOS to see if that fixes the issue. If none of these solutions works, you may need to replace the motherboard.
How Much Does It Cost To Fix A DRAM Light Issue?
The cost of fixing a DRAM light issue can vary depending on the cause of the problem. If you need to replace the computer’s memory (RAM), you can expect to pay around $100 for the part and labor. If you need to replace the motherboard, you can expect to pay around $200 for the part and labor.
How Do I Clear CMOS?
Clearing your CMOS or Complementary Metal-Oxide Semiconductor returns your motherboard settings to factory defaults. This includes your BIOS settings, which control your computer’s boot sequence and other essential features.
Clearing your CMOS can fix certain problems, such as a forgotten BIOS password, but it also carries some risk because it involves changing important low-level settings on your motherboard.
Before you begin, it’s important to note that clearing your CMOS will not delete any files from your hard drive or reset your Windows password. It will, however, erase any custom BIOS settings you’ve made, such as overclocking settings.
How Do I Reset My BIOS?
Your BIOS, or Basic Input/Output System, is low-level software that starts when you boot your computer. It controls your computer’s boot sequence and allows you to change basic hardware settings.
If your BIOS is corrupted, you may be able to reset it to its default settings by selecting the Clear BIOS Settings or Reset Configuration Data option in the BIOS menu.
Consult your motherboard’s manual if you’re unsure how to access the BIOS menu. Clearing your BIOS settings will not delete files from your hard drive or reset your Windows password. It will, however, erase any custom BIOS settings you’ve made, such as overclocking settings.
Can I Update My BIOS?
Yes, you can update your BIOS. However, it’s important to note that updating your BIOS can be risky and should only be done if you’re experiencing problems with your computer or need to enable new hardware or features that aren’t compatible with your current BIOS version.
Updating your BIOS will usually void your computer’s warranty, so check with your manufacturer first. You’ll also need a program to flash or update your BIOS. Your motherboard manufacturer usually provides this.
Conclusion
As you can see, a DRAM light on your motherboard can indicate a serious problem with your computer. If you see this light, it’s important to take action immediately to determine the cause and fix the problem. In most cases, you’ll need professional help to repair the issue.
However, if you’re comfortable working with computers, you may be able to troubleshoot the issue independently.
If you’re having trouble with your computer, it’s always a good idea to consult a professional. A qualified technician can help you diagnose the problem and recommend the best action.

