

One of the most frustrating things when you’re trying to use your computer, is encountering an error code. The 0x80190001 error code can occur for various reasons, and it can be extremely frustrating to figure out what is causing it.
In this article, we’ll take a look at what the 0x80190001 error code means and some of the potential causes for it.
What Does Error Code 0x80190001 Mean?
The 0x80190001 error code typically indicates a problem with your computer’s registry. The registry is a database that stores all of the settings and options for your computer, and your computer needs to be able to run smoothly.
However, the registry can become corrupt or damaged over time, leading to errors like the 0x80190001. Many different things can cause the registry to become corrupt or damaged, including outdated or missing drivers, malware infections, and even simple things like power surges.
So if you face this issue with your PC, you may need to read this article and follow the methods below to fix the 0x80190001 error in PCs.
Method 1: Clean Up Temporary and Junk Files
Your computer is constantly creating temporary files as you use it. These files are supposed to be deleted when you’re done with them, but sometimes they get left behind. Over time, these junk files can take up a lot of space on your hard drive and slow down your computer.
They can also cause problems with your software, leading to errors like 0x80190001.
The good news is that cleaning up these junk files is easy. You can do it manually or use a software program like CCleaner or any other software you may like to install and use for PC cleaning. But I prefer you to use Windows by default temporary and junk files cleaning method.
Follow these steps and clean up temporary and junk files from your PC in seconds.
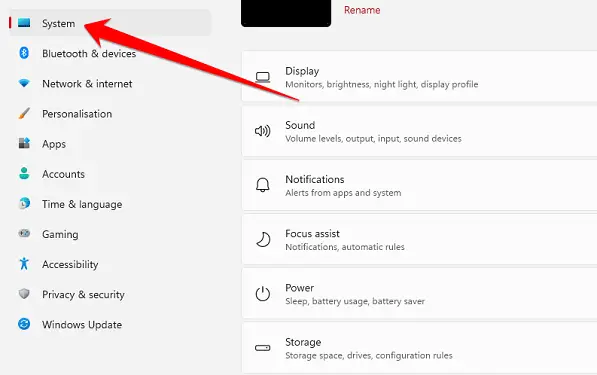
- Open the Setting by pressing Windows+I and then click on the System.
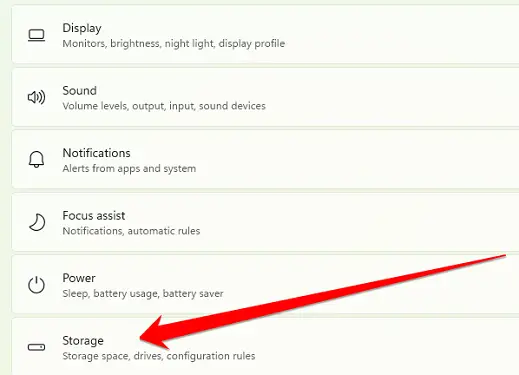
- Now click on the Storage option from the System options list.
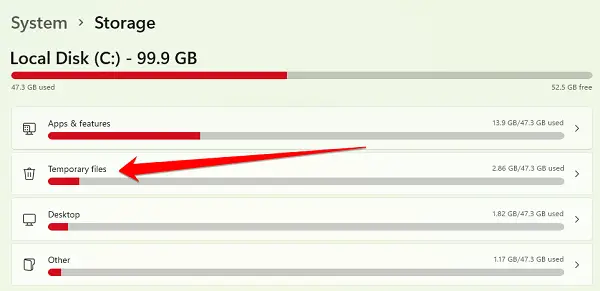
- Here under Local Disk, you will find some more options from which you will have the option to delete junk and downloaded files from your computer system. But from here, you have to click on Temporary files.
- Clicking on the Temporary files option will bring up more options, but you must click the “Remove Files” option.
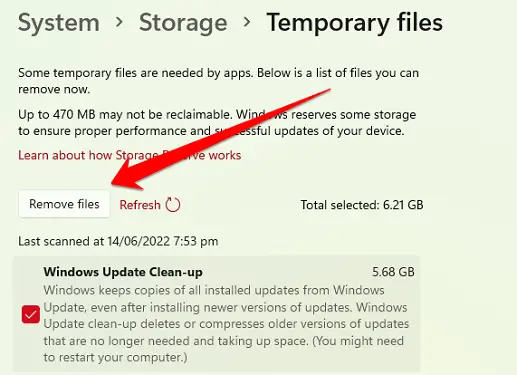
This process will take you a few minutes to remove your PC’s Temporary Files from the system to improve your system performance and also help to fix such errors.
Method 2: Run the Update Troubleshooter
The 0x80190001 error is a common Windows Update error. It usually pops up when there’s a problem with your internet connection or your computer’s security settings are preventing Windows Update from running correctly.
To fix the 0x80190001 error, you can run the Update Troubleshooter. This is a built-in Windows tool that can help fix a variety of update-related issues.
- To run the Update Troubleshooter, go to settings by pressing the Windows+I key.
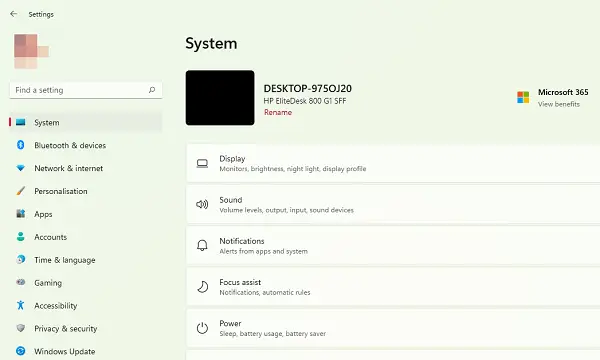
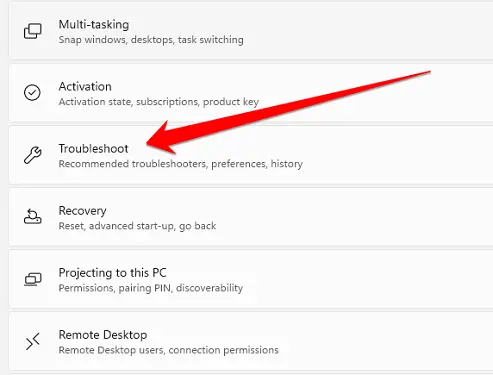
- In the list of options in the System section, you have to click on the “Troubleshoot” option.
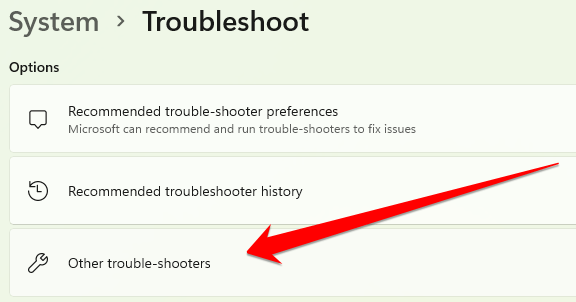
- After entering the Troubleshoot section, you have to click on the “Other Troubleshooters” option.
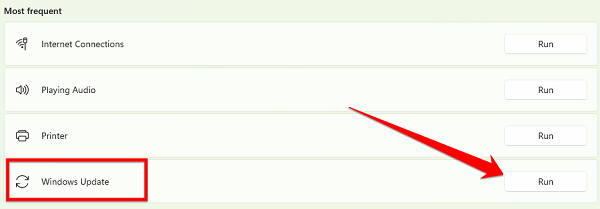
- In the Other Troubleshooters portion, you will find the Windows Update option. You have to click on the “Run” option in front of this option. This method will check your system and help you fix the error of 0x80190001.
Method 3: Repair Your System Files
One of the most common errors that Windows users may encounter is the 0x80190001 error. This can occur for several reasons, but most often, it is due to system files that have become corrupted. Fortunately, there are a few things you can do to try and fix this error.
The first thing you can try is running a system file checker tool. This will scan your system for corrupt or damaged files and attempt to repair them. So follow the steps given below and fix this issue in a few minutes.
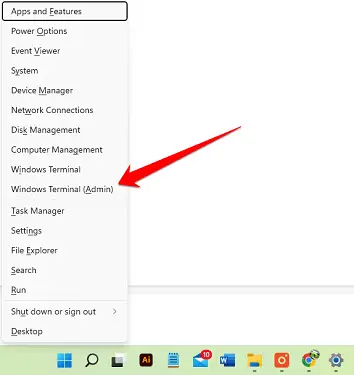
- Press the Windows+X button together from the keyboard to open the System Options menu from the taskbar. And then click on the Windows Terminal option.
- Now simply type the following command in the Windows terminal.
sfc /scannow- Be aware that the SFC scan may take a while, depending on which kind of scan you’re having, so do not try doing anything else during that time and do not operate other applications that may interfere.
If the SFC scan is finished, ensure the issue remains. If the issue still exists, or if you cannot complete the SFC scan, you should consider performing the DISM scan instead.
Method 4: Check the Date and Time Settings
If all of the above methods do not fix this issue, then you need to follow this method. If you’re seeing the 0x80190001 error code on your Windows PCs repeatedly, it could be due to an incorrect date or time setting on your PC.
This is a relatively easy problem to fix, but it’s important to follow the steps below carefully to ensure that your computer’s date and time are set correctly.
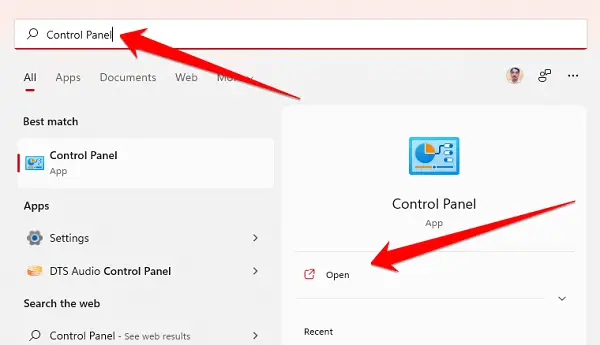
- First, open the Control Panel on your computer. You can do this by clicking on the Start menu and then typing “Control Panel” into the search bar.
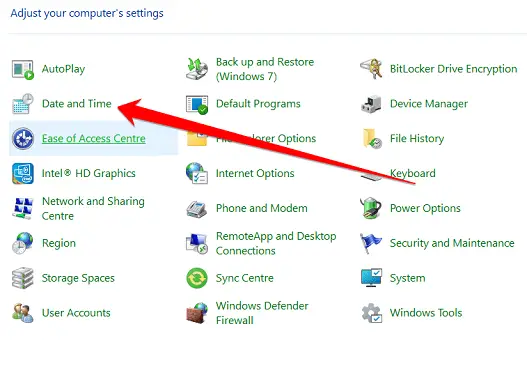
- Once the Control Panel window opens, click the “Date and Time” option.
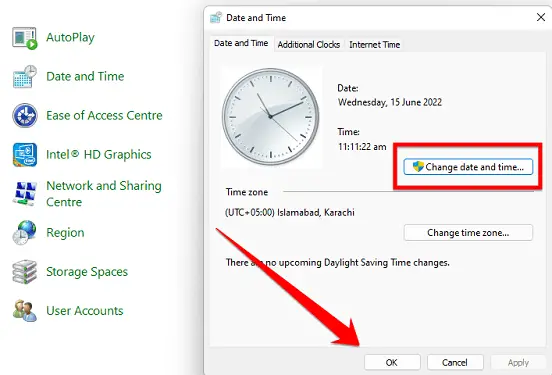
Next, check to ensure the date and time are set correctly on your computer. If not, adjust them by clicking on the “Change date & time” option. So that they are correct, click the “OK” button.
Finally, restart your computer for the changes to take effect. Once your computer restarts, try again opening the file or program that was giving you the 0x80190001 error code.
Method 5: Disable Windows Security During Setup
If you disable Windows antivirus during setup, you can fix 0x80190001. One of users’ most common error codes when installing Windows is 0x80190001.
Several factors can cause this error, but one of the most common is a conflict between your antivirus software and the Windows installer. To resolve this issue, you’ll need to disable your antivirus software before beginning the installation process. Here’s how:
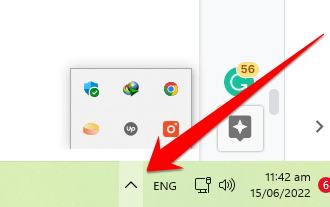
- First, click on the “Show hidden icon” option from the taskbar.
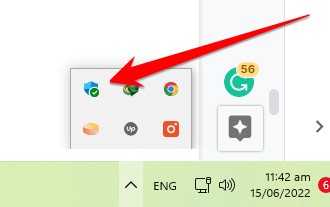
- When the hidden icon show, then you may need to click on Windows antivirus.
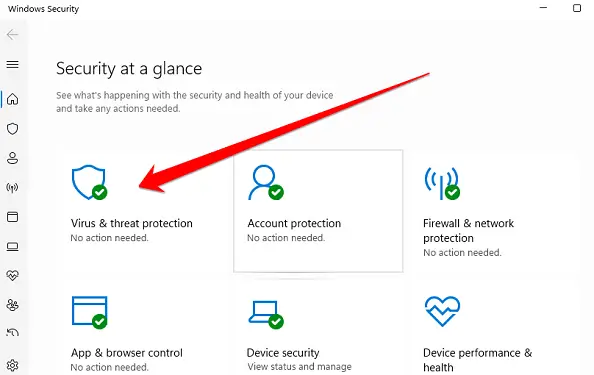
- After opening the antivirus, click the “Virus & Threat Protection” option.
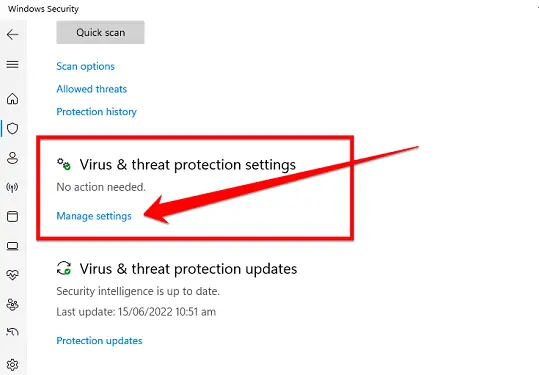
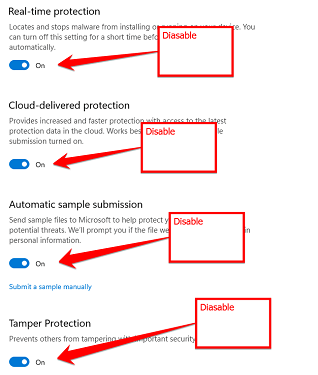
- You will now see a list of additional options, from which you have to click on the Manage settings option in the “Virus & threat protection settings” section.
- After going to the Antivirus Management Settings, you will be presented with some options which will be enabled. You have to disable all these options for a while.
Finally, after disabling all these options, update your system, and after updating, you have to restart your computer once. After reopening, check your computer to see if this error has been fixed.
Frequently Asked Questions
What is Error 0x80190001?
The error 0x80190001 is a common error that can occur when trying to update Windows. There are a few different reasons this error might occur, but the most likely cause is a corrupt file in the Windows Updates component.
This component is responsible for downloading and installing updates for Windows, so if it is corrupted, it can prevent updates from being installed correctly. In some cases, you might be able to fix the problem by simply deleting the corrupt file and allowing Windows to download a new copy.
However, if the problem persists, you will need to use the Windows Update troubleshooter to fix it. This tool can automatically identify and fix problems with the Windows Update component.
What Causes The 0x80190001 Error?
The 0x80190001 error is a common Windows error that can be caused by a variety of issues. Sometimes this error is caused by a corrupt or damaged file or hardware problems. In any case, the 0x80190001 error can be a frustrating issue to deal with.
One of the most common causes of the 0x80190001 error is a corrupt or damaged system file. When this happens, Windows cannot load the file correctly and will generate the 0x80190001 error.
To fix this issue, you will need to replace the damaged file with a working copy. Another common cause of this error is outdated or incompatible drivers. Drivers are small pieces of software that help Windows communicate with your hardware.
If these drivers are outdated or incompatible with your version of Windows, it can cause the 0x80190001 error.
You can use Device Manager or visit your manufacturer’s website to update your drivers.
Finally, hardware issues can also cause the 0x80190001 error. If your computer’s RAM is faulty or your hard drive fails, it can prevent Windows from loading properly and cause the 0x80190001 error. If you suspect your hardware is to blame, you can run a diagnostic tool to check for errors.
Is it Safe to Clean Up Junk Files?
As anyone who has ever used a computer knows, junk files are a fact of life. Over time, every system accumulates a certain amount of temporary files, error logs, and other detritus. These files usually serve no purpose and can safely be deleted.
However, there are a few exceptions to this rule. First, it’s important to make sure that you know what a junk file is before you start deleting things. Many operating systems include files automatically created for temporary storage or crash recovery.
If these files are deleted, it can cause problems. Additionally, some applications create their own temporary files; generally, it’s best to leave these alone unless you’re sure the application doesn’t need them anymore.
Finally, it’s always a good idea to create a backup before you start deleting anything, just in case. With these caveats in mind, cleaning up junk files on your computer is generally safe. Doing so can reclaim valuable disk space and help keep your system running smoothly.
How Do I Run the Windows Update Troubleshooter From the Command Line?
The Windows Update troubleshooter helps fix problems with Windows Update. You can run the troubleshooter from the command line.
To do this, open a Command Prompt as administrator. Then, type the following commands:
DISM.exe /Online /Cleanup-image /Restorehealth
sfc /scannow
Dism.exe /online /enable-feature /featurename:NetFramework3.5
Type each command and press Enter. The first two commands will take some time to run. After the DISM and SFC commands finish, you can run the Windows Update troubleshooter from the Command-Line.
What Does the SFC Command Do?
SFC, or the System File Checker, is a Windows utility that allows users to scan and restore corrupted system files. The utility scans all of the protected system files on your computer and compares them to the original files stored in the %windir%\System32 folder.
If any files are found to be missing or corrupt, SFC will replace them with the correct version from the %windir%\System32 folder. SFC can be run from the Command Prompt or PowerShell.
The SFC command is a vital tool for keeping your Windows installation healthy. Whenever you install an update or hotfix, it’s a good idea to run SFC to ensure that all your system files are up-to-date and free of corruption. You can also use SFC to scan for and fix problems with your registry.
Type the following command at the Command Prompt or PowerShell and press Enter.
sfc /scannowThe scan may take a few minutes to complete, but ensuring that your system is running smoothly is worth it.
Final Thoughts
I hope this article helped explain how to fix the 0x80190001 error and help you fix this issue by following methods. If you followed our instructions and solved this issue, then I ask that you share this article with your friends on social media.
Thanks for reading!


