
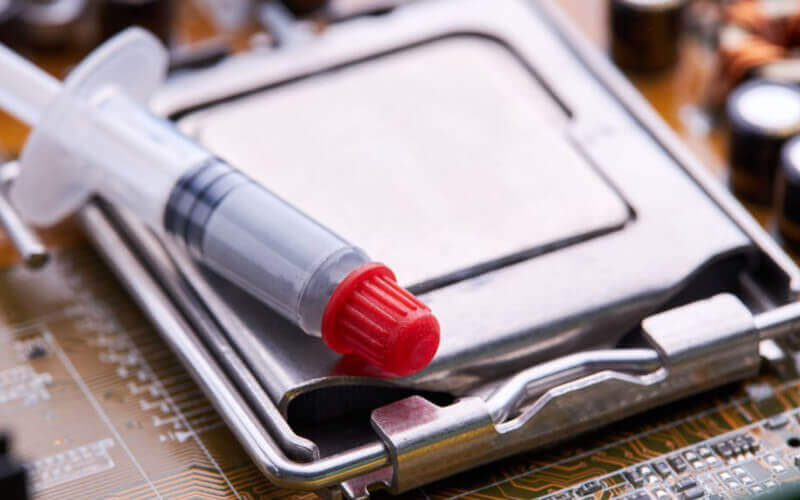
One of the most important things you can do to keep your system running smoothly is to regularly clean off the thermal paste from your CPU. Over time, the thermal paste can break down and cause overheating reduced performance, and even permanent damage to your hardware.
In this article, I’ll walk you through the steps you need to take to clean off thermal paste from your CPU effectively. Whether you’re a seasoned builder or just starting, this guide will help ensure that your system stays cool and runs smoothly.
So, let’s dive in and learn how to clean off that thermal paste properly.
What You Will Need
Here’s what you’ll need to clean the thermal paste off your CPU:
Materials
- Isopropyl alcohol or a specialized thermal paste cleaner
- Lint-free cloths or paper towels
- A clean, flat surface
Tools
- A flat, stiff tool (e.g., plastic card or metal scraper)
- A soft-bristled brush or toothbrush
With these materials and tools, you’ll be well-equipped to clean the thermal paste off your CPU. And don’t worry if you don’t have a specialized thermal paste cleaner.
Isopropyl alcohol, which you can easily find at a local drugstore, works just as well.
Steps to Clean Thermal Paste Off CPU
Now that you’ve got your materials ready, let’s take a look at the steps you’ll need to follow to clean off that thermal paste:
Remove Old Thermal Paste
- Preparing the Surface: Before you start, ensure you have a clean and flat surface to work on. If necessary, you can use a soft cloth to wipe down the surface to remove any dust or debris.
- Applying Solvent: Take your solvent of choice and apply a small amount to a soft cloth. Gently rub the cloth over the surface of the thermal paste, making sure to cover it completely. The solvent will help break down the paste and make removing it easier.
- Scraping Off the Old Thermal Paste: Once the solvent has had a chance to work its magic, you can use your plastic scraper or credit card to scrape off the thermal paste gently. Be careful not to scratch the surface of the CPU as you work.
Clean the Surface
- Removing Residues: Once the thermal paste is removed, use a clean cloth dampened with solvent to wipe down the surface. This will help remove any remaining residue and prepare the surface for the next step.
- Drying the Surface: Finally, use a dry cloth or paper towel to dry the surface of the CPU. Make sure it’s completely dry before moving on to the next step.
And that’s it! By following these simple steps, you’ll be able to effectively clean off the thermal paste from your CPU and keep your system running smoothly.
Related: Do CPUs Come With Thermal Paste?
Tips for Effective Cleaning
As you work through the steps to clean off the thermal paste from your CPU, there are a few tips and tricks you can keep in mind to make the process as effective and efficient as possible:
- Avoid Damaging the Surface: This one is important. The surface of your CPU is delicate and can be easily scratched, so be sure to use a soft cloth and plastic scraper when cleaning. Also, be gentle when scraping off the thermal paste, and avoid using too much force.
- Choose the Right Solvent: Different solvents can have varying degrees of effectiveness when breaking down thermal paste. Make sure to choose a solvent that is safe for use with your particular CPU and recommended by others who have successfully used it.
- Be Patient and Thorough: Cleaning off thermal paste can take time and effort, so don’t rush the process. Take your time and thoroughly clean the CPU’s surface before moving on to the next step.
By following these tips, you’ll be able to clean your thermal paste effectively and efficiently without damaging your CPU.
Conclusion
Well, there you have it! Cleaning off the thermal paste from your CPU is a straightforward process that can help keep your system running smoothly and prevent overheating and other issues.
Even if you are just starting out, following the instructions in this article will give you the knowledge and confidence needed to complete your project successfully.
Just remember to be patient, choose the right solvent, and be gentle with the surface of your CPU, and you’ll be well on your way to keeping your system cool and running at peak performance.


